How to Use a Circular Saw
Posted by Katy | Toolstop on 30th Mar 2021
This ultimate Toolstop guide on how to use a circular saw explains everything you need to know from setting your circular saw up to changing blades, adjusting height and using a guide rail
What is a Circular Saw?
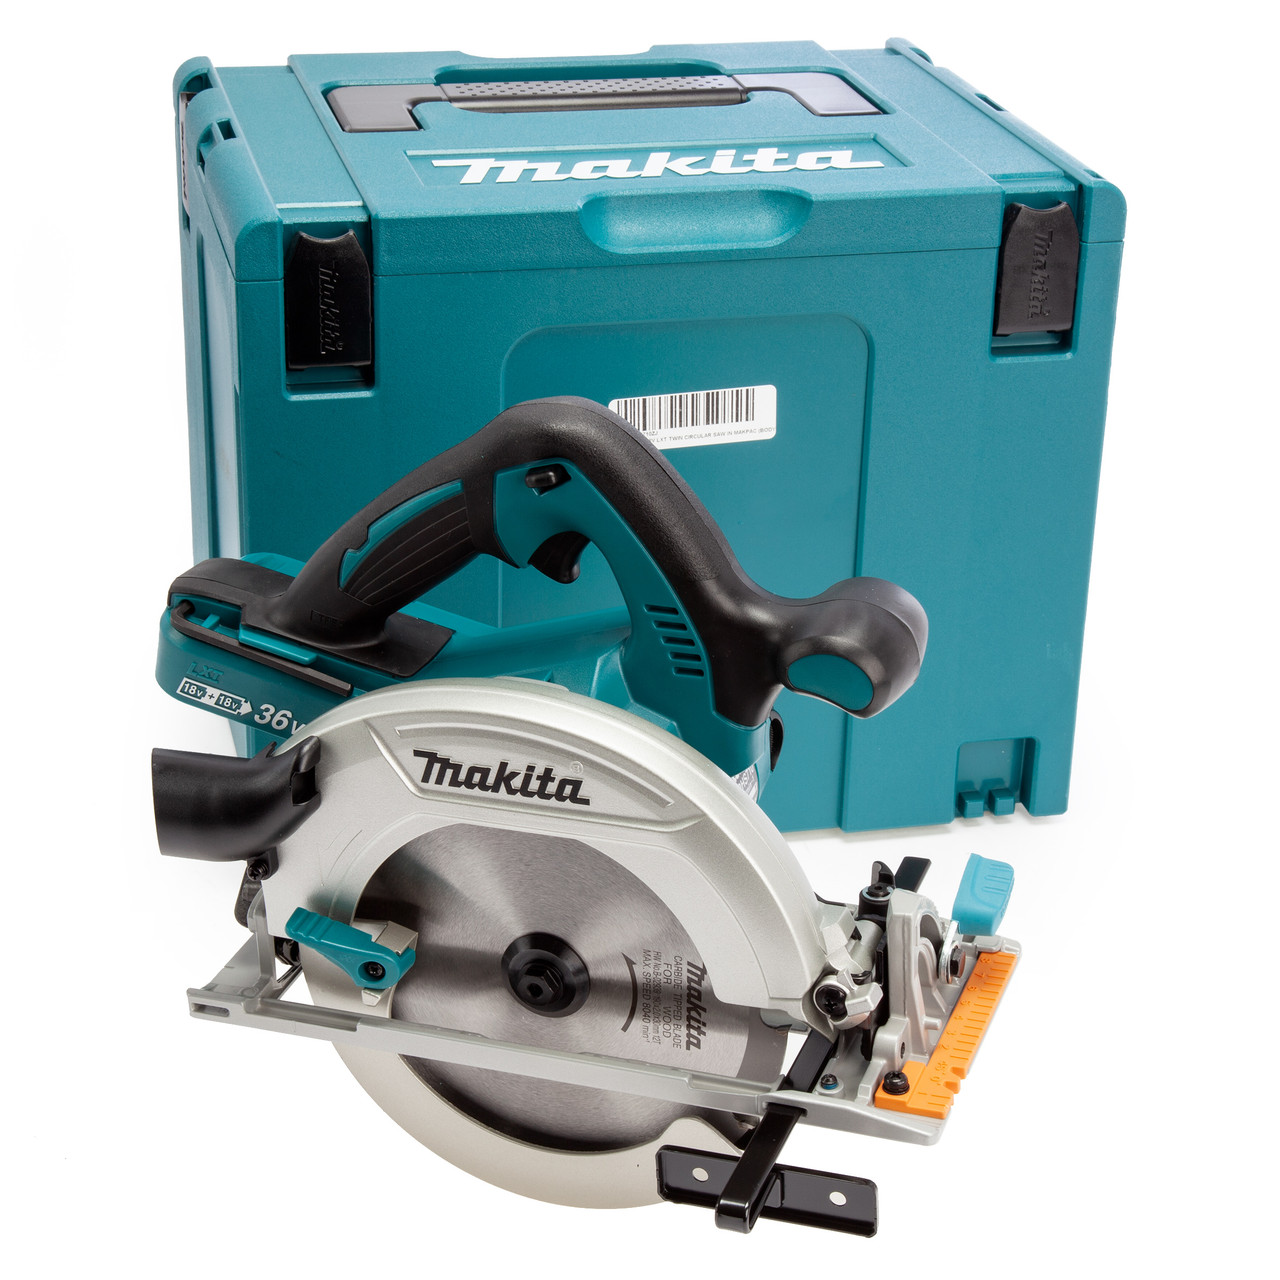
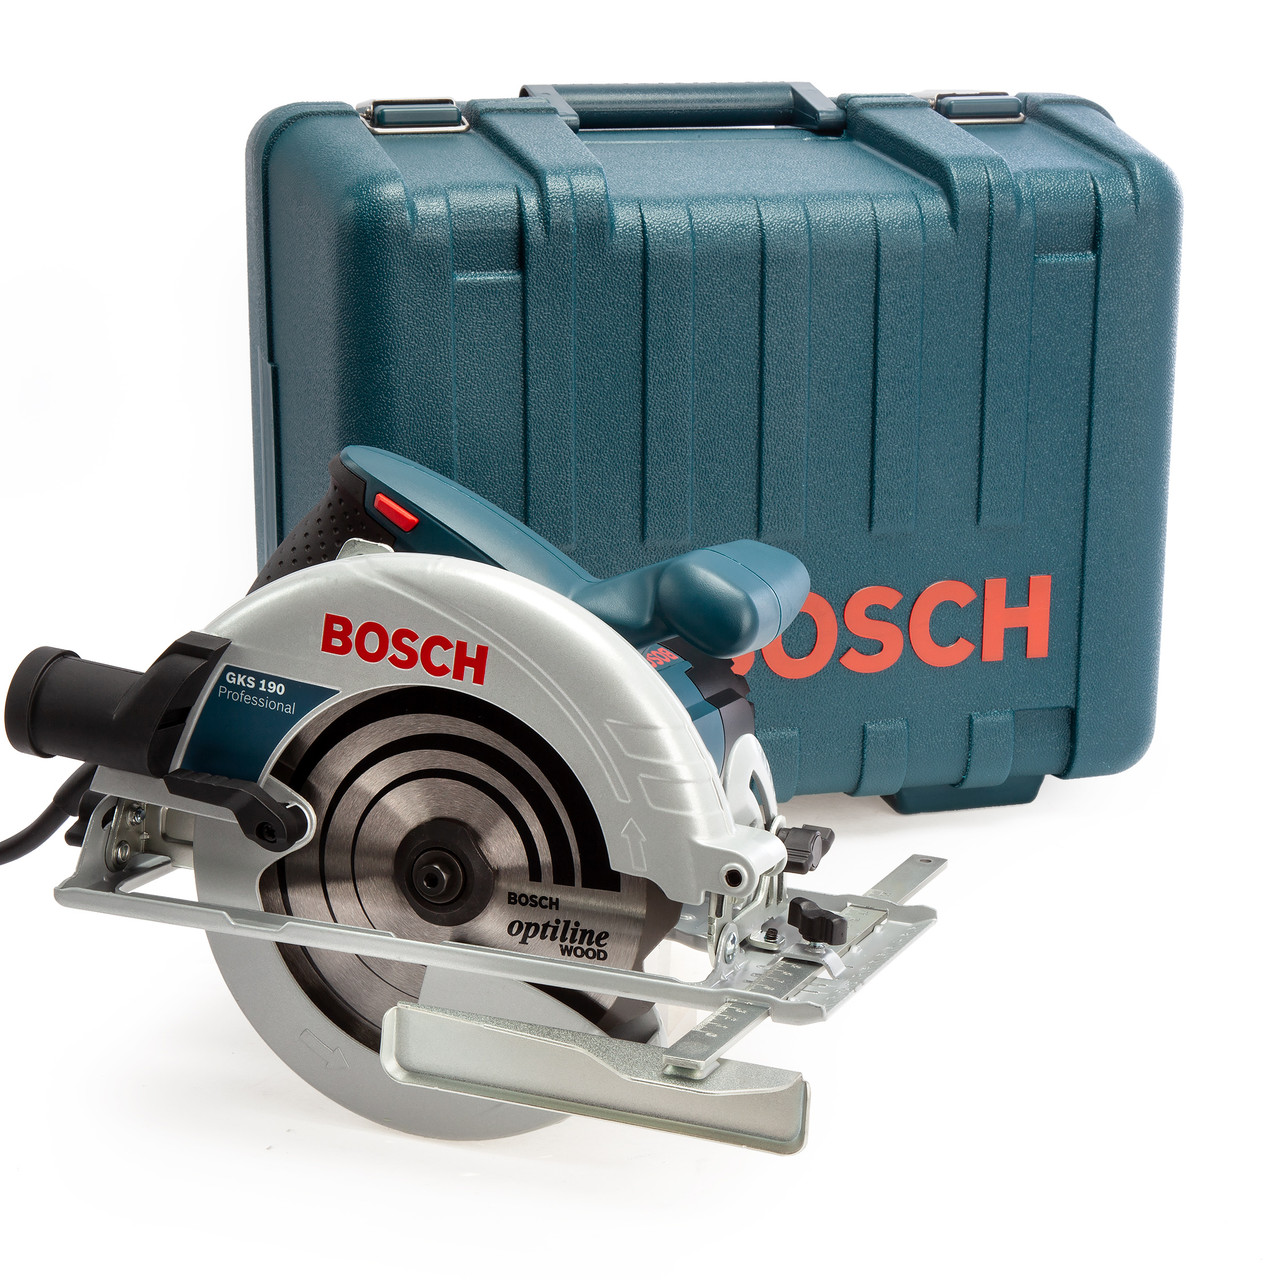
Circular saws are a type of power tool designed to cut through wood and other construction materials. They feature a sharp circular blade which rotates at speed to create cross cuts and rip cuts and are available in a few different sizes determined by the size of blade they accept. These portable tools come as corded or cordless models and are used in both professional trades and by DIY hobbyists.
In this Toolstop blog, we will cover:
Parts of a Circular Saw
A circular saw is made up of many parts, all of which serve a purpose. Before we get to cutting, we need to know what each part is called and what its job is to do. See below:
- Blade - the most important part, this is what will cut the material
- Blade guard - prevents wood from falling onto the spinning blade and covers the blade when the saw isn't in use to prevent injury
- Shoe/baseplate - slides over the material you're cutting
- Two handles - one on top and one at the front to help guide the saw
- Bevel adjustment - allows you to adjust the bevel of the saw for cutting at different angles
- Depth adjustment - allows you to adjust the cutting height of the saw for cutting different depths of material
- Trigger switch - the power on/off button
How to Change a Circular Saw Blade
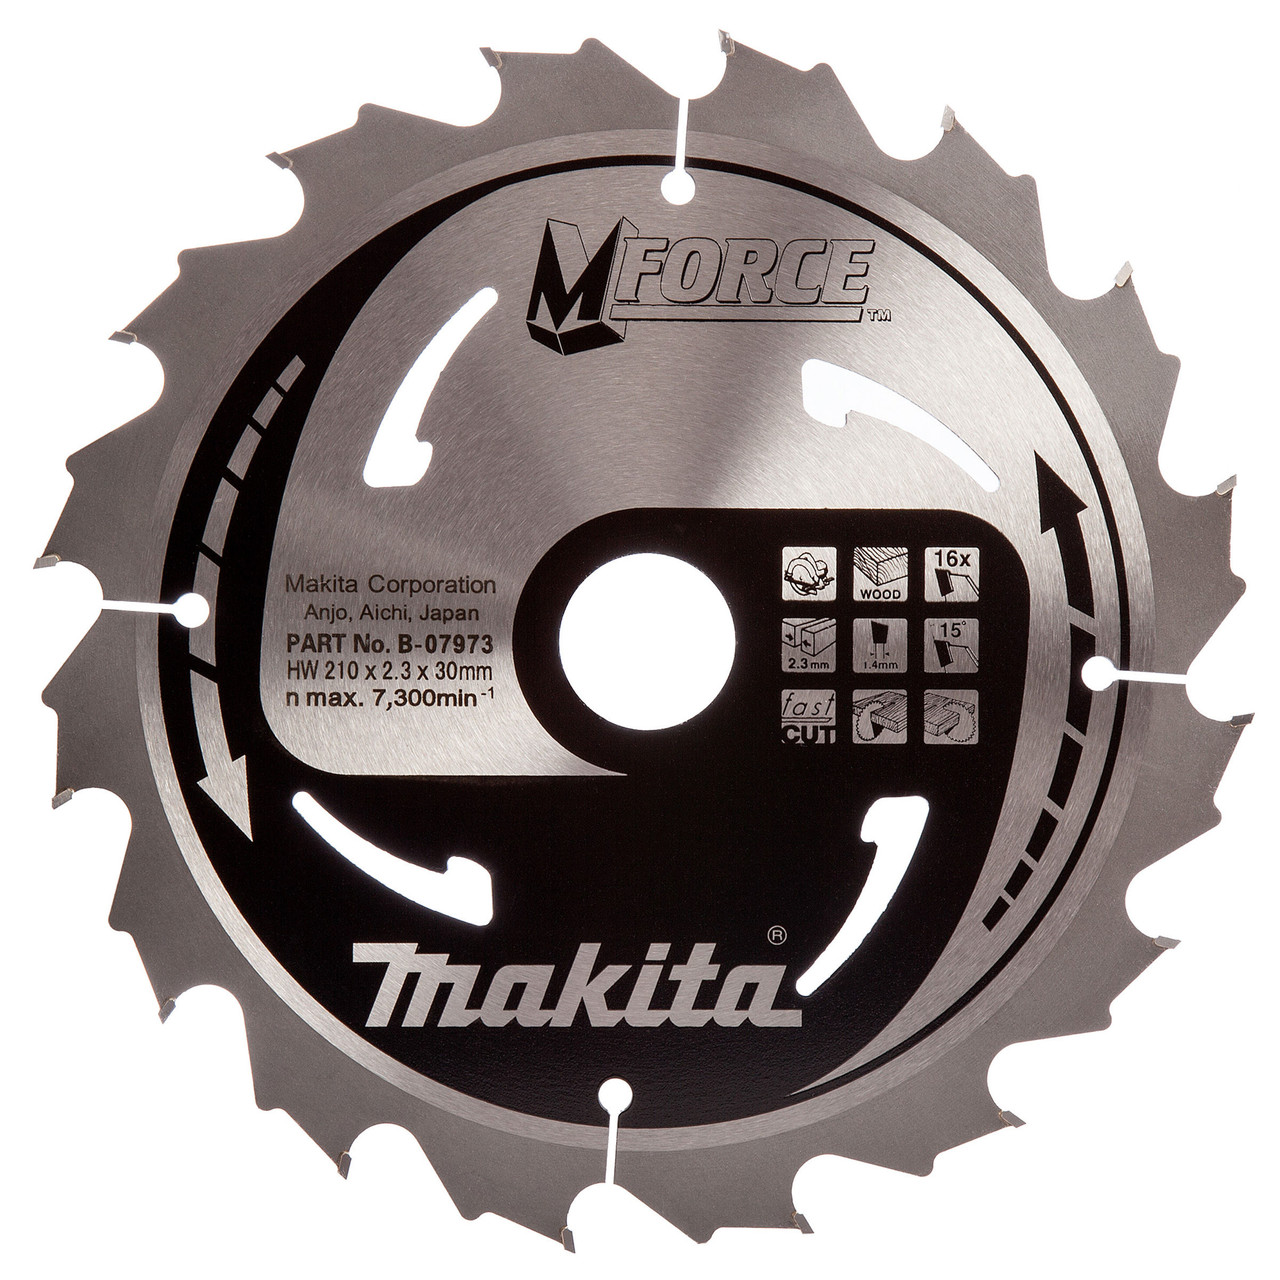
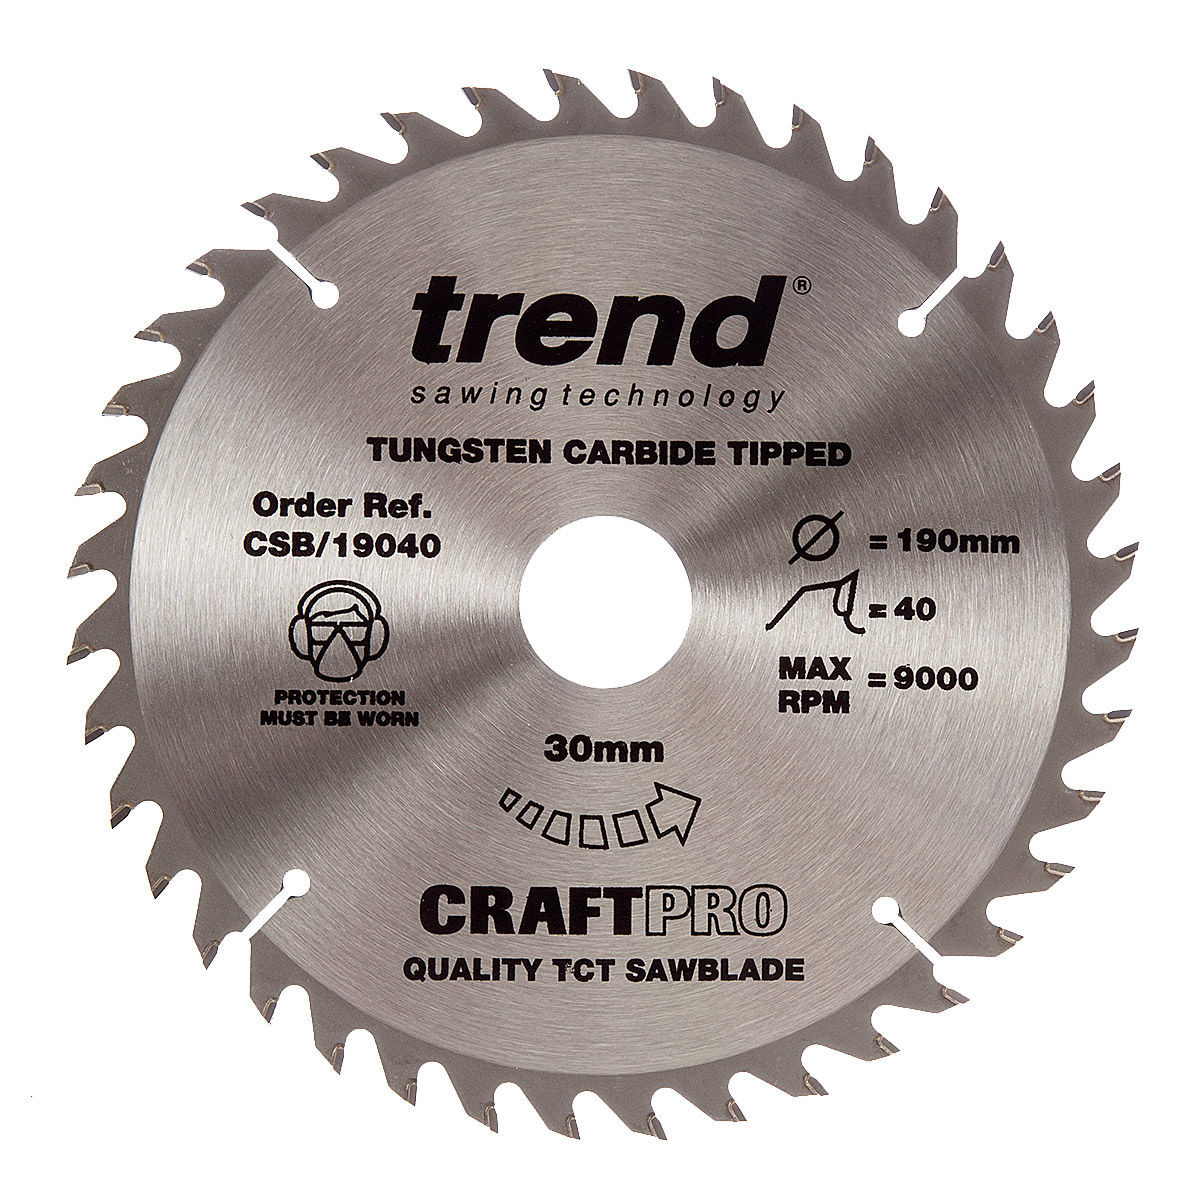
You will need to change your saw blade every so often depending on the material you're cutting and the finish you wish to achieve. If you aren't sure which circular saw blade you should be using, you can refer to our circular saw blades buying guide. To change the blade on your circular saw, simply follow the steps below:
- Look out your hex key. This usually comes supplied with the tool and can be found stored on the body of the tool
- Lock the blade in place by pushing in the lever on the body of the tool (If you tried to unscrew the bolt without doing so, the blade will just turn and it wont loosen)
- Insert the hex key into the bolt and unscrew fully
- Remove the flange and your blade should slide right out
How to Use a Circular Saw
Now that we know all of the parts on a circular saw and have chosen our blade, it's time to get cutting! First things first, you're going to want to mark out where you want to cut. Take note of the 0° marking, or two 'notches' on the base plate (see photo) as this is in line with where the blade will cut. You always want to follow along this 0° mark when working freehand without a rail. Alternatively, you can follow the blade by looking at it from the side. But please note, this may not provide entirely straight cuts.
- Mark out where you want to cut
- Clamp the material firmly to your workstation or set up your guide rail
- Adjust your base plate to the correct height so that the blade is ever so slightly lower than the material you're cutting
- Set your bevel angle if you are using
- Rest the shoe/baseplate on the edge of the material and near the cutting line, but don't let the blade touch it yet
- Pull the trigger and allow the blade to reach its maximum rpm before starting to cut
- Once its reached its optimum speed, slowly push the circular saw through the material
- Once you have cut through the material, release the trigger and allow the saw to fully come to a stop
You always want to cut in a position that allows the offcut piece of material to fall to the ground. Don't saw in the middle of two surfaces as this can cause kickback, splintering and injury.
How to use a Circular Saw with a Guide Rail
Using a guide rail with your circular saw will help create precise and exact straight cuts every time. They are a must have where straight lines are a requirement. We have a full blog post dedicated to this subject which explains the full ins and outs on why you should use a guide rail and how to do so.
How to Make Straight Cuts with a Circular Saw
Alternative methods to using a guide rail:
Whilst we always recommend you use a guide rail when cutting larger sheets of material, there are a few alternative methods for making straight cuts in smaller materials. A speed square is a good option for making straight cuts in smaller boards. Our image shows how to do so, but it is as simple as running the base plate of your circular saw along the side of the square to achieve a straight cut.
A spirit level and 2 clamps is also a good option for larger materials. Clamp the level to the workpiece and similarly to the speed square, follow the side of the level to achieve that straight cut. Most circular saws also come with a guide fence included as standard, which slots into your saw and allows for straight cuts.
If you are making cuts that don't need to be entirely straight, you can simply cut using freehand as explained above. *Remember, a guide rail will always be the safest and most accurate method.
How to Sharpen a Circular Saw Blade
When the teeth on your saw blade start to become dull, most people assume its time to purchase a new one. Whilst there is absolutely nothing wrong with this, did you know you can actually sharpen your saw blades?
Saw blades can be expensive, and if you are using them regularly, they can lose their sharpness fast. Using our method below will help to save you money and increase the lifetime of your blades.
To sharpen your circular saw blade, all you have to do is:
- Remove your saw blade from the machine
- Clamp it in place with a vice
- Using a flat file, sharpen each individual tooth on the blade. It only requires around 3 strokes per tooth.
It's as simple as that! Check out our video demo to visualise the process and see how easy it really is.
That completes our full guide on how to use a circular saw. Whether you are a beginner, or just looking for some extra tips, we hope this blog post has helped you. Remember to always use caution when working with these tools, as they are extremely sharp and spin at high speed. We have more blog posts on circular saws which you can see using the search bar on our site. We have linked our favourites below.
To conclude this blog, check out our demos below on how to make a 45° rip cut with a circular saw and a how to make a standard rip cut.


