Why & How to Use a Circular Saw and a Guide Rail
Posted by Katy | Toolstop on 4th Jan 2021
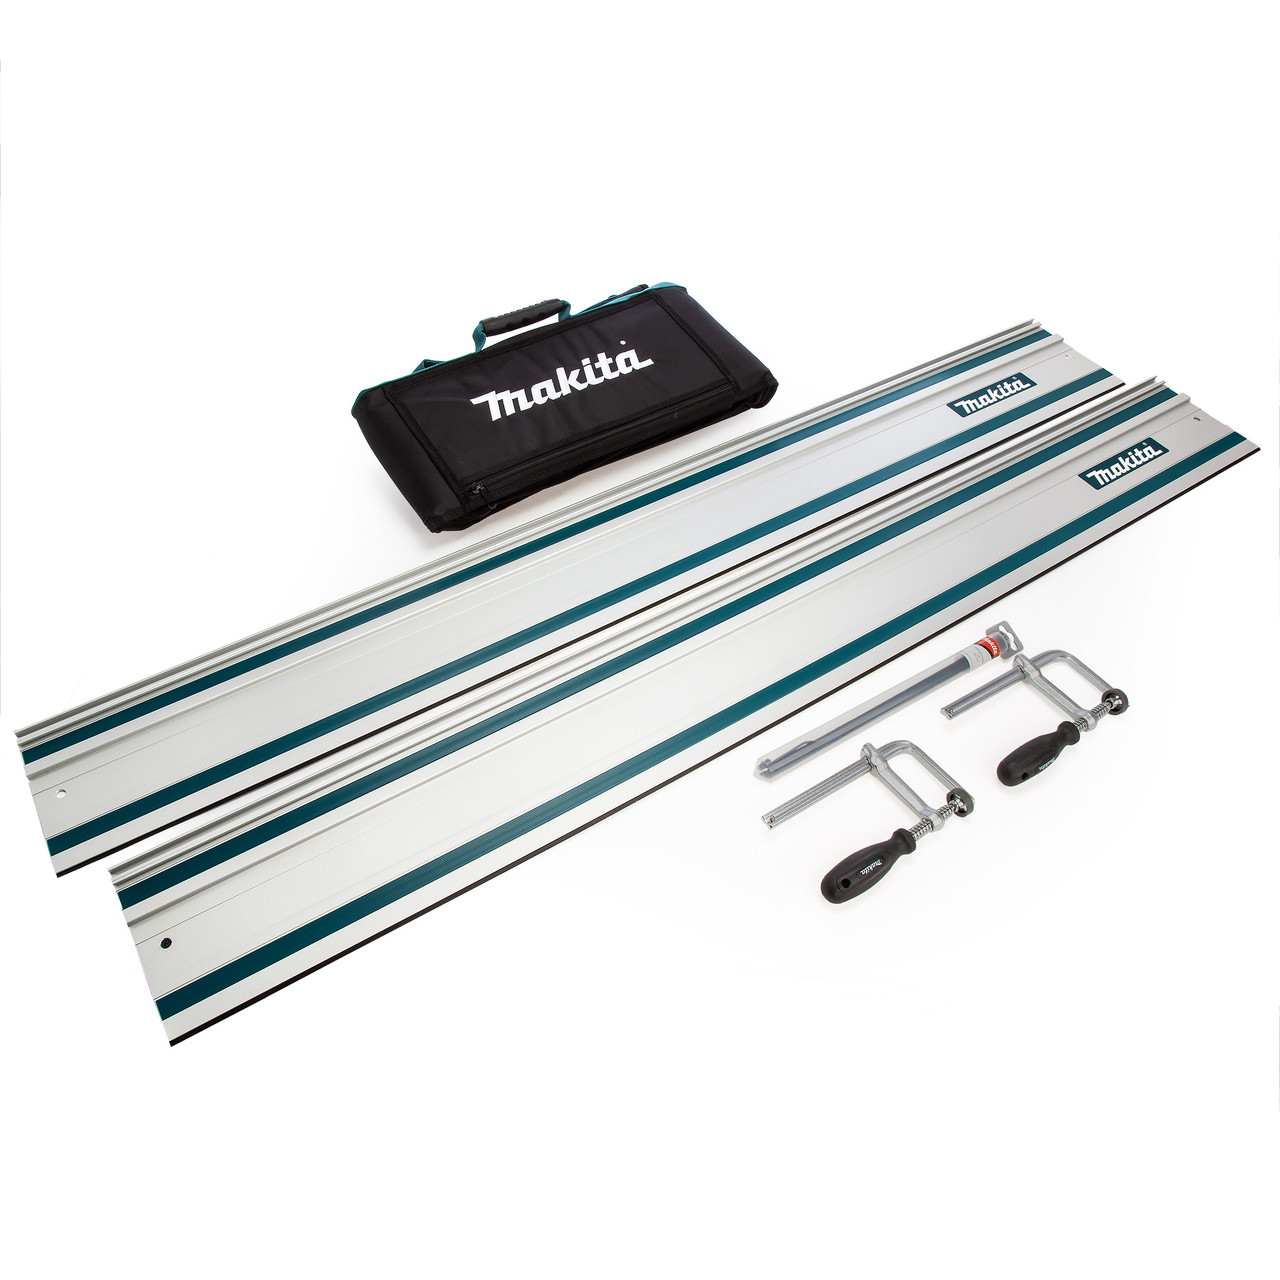
A Guide Rail is designed to be used with a Circular Saw for creating precise and straight cuts every time. This Toolstop guide has been created to show you the benefits of using a circular saw guide rail and how to do so. Here at Toolstop we stock a range of circular saws with guide rails.
A Guide Rail is designed to be used with a Circular Saw for creating precise and straight cuts every time. This Toolstop guide has been created to show you the benefits of using a circular saw guide rail and how to do so. Here at Toolstop we stock a range of circular saws with guide rails.
Circular Saw Guide Rail - Why and How to use one
In this short guide we’ll explain the reasons you should be using a circular saw and a guide rail, and some tips on making sure your circular saw is set up properly.
What Does a Circular Saw and Guide Rail Look Like in Action?
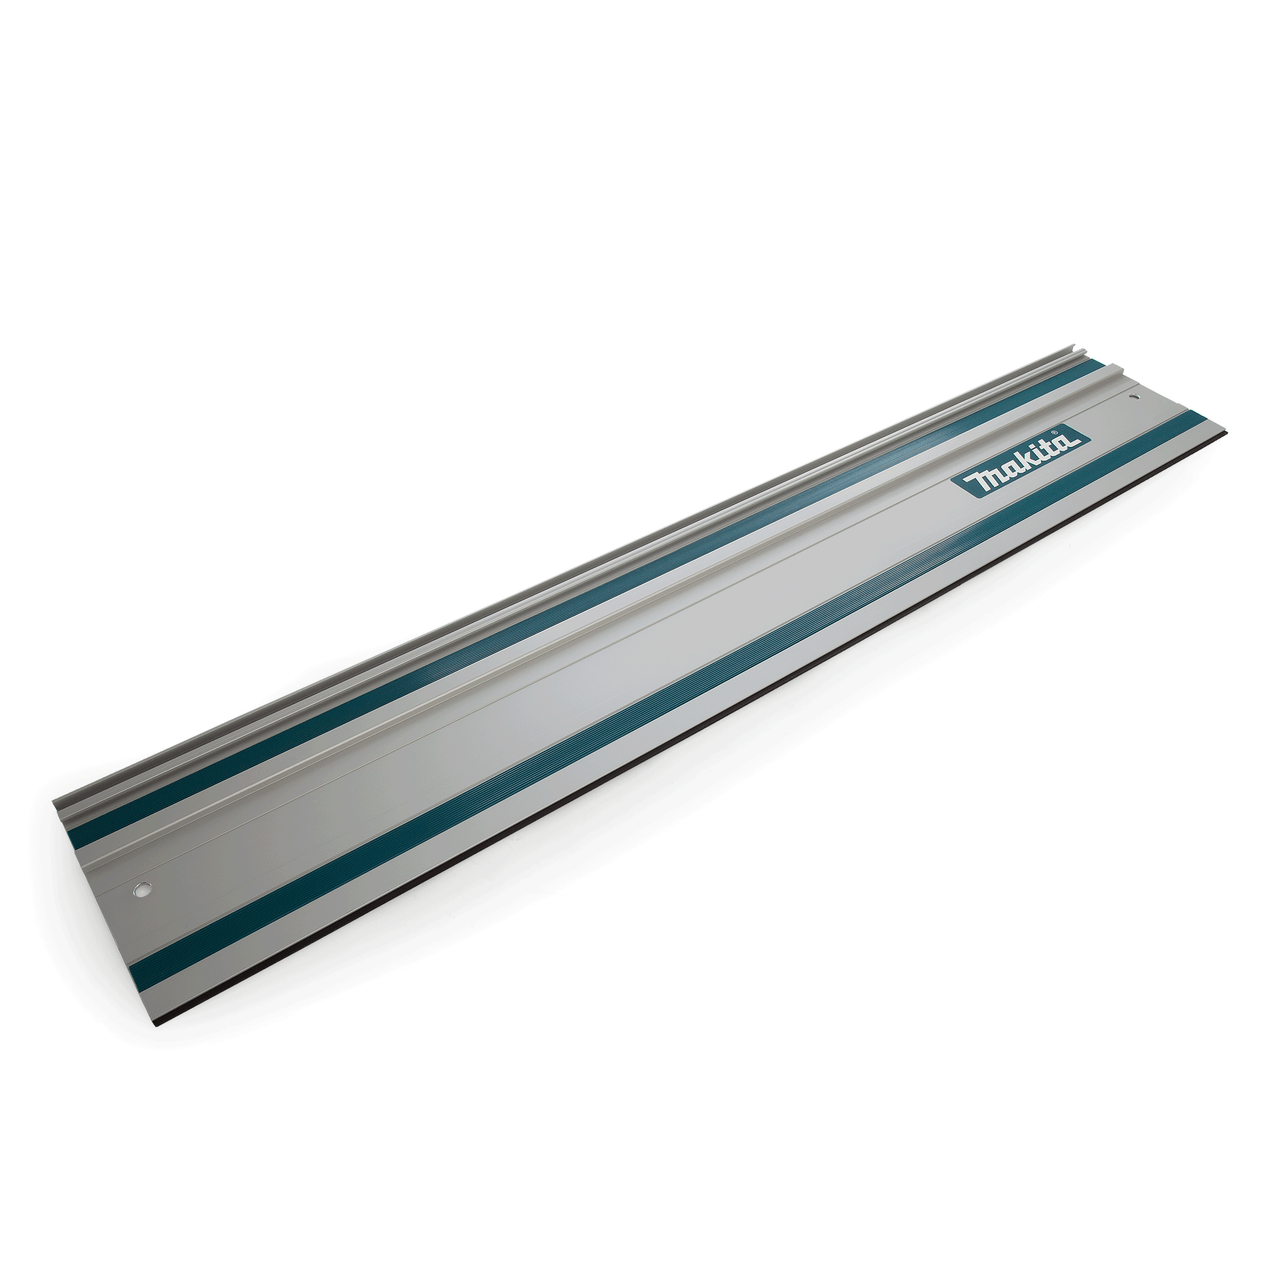
For the purposes of the guide, we’ll be using the Bosch GKS 65 Circular Saw. We’re partnering this with FSN 800 Guide Rail, but you can click here to see the guide rails we’ve got in stock.
To see a circular saw blade and guide rail in action, check out our exclusive video on Toolstop TV:
Why use a Guide Rail?
Simply put, it’s the best way to guarantee precise, straight, accurate cuts, either at 90º or 45º. If you need to cut workpieces that must be cleanly and accurately joined together, a circular saw (properly set up) and a guide rail is the way to get this done. All the experts claim you’ll get “absolute accuracy” when using this setup.
The guide rail also helps prevent splinters in your workpiece thanks to the anti-splinter protection at its edge.
So, clean, accurate cuts over and over are possible when using a guide rail.
And you don’t need to use clamps, which can clutter up your cutting line. Good quality guide rails have adhesion strips that help grip them to the work piece.
The guide rail in our demo happens to be made by Bosch, and of course, the DWS520KT works perfectly with it. However, the saw is also compatible with other makes of guide rail.
How to Set Up a Plunge or Circular Saw
The most obvious setting you need to make sure you’ve got right is the cutting depth.
Don’t have too much of the saw blade displayed below the thickness of the material you’re cutting. Just a few millimetres is needed. Remember, it’s the teeth that are doing the cutting rather than the blade itself. Obviously, it’s also important to make sure you’re using the correct blade for the material you’re cutting. Refer to our Circular Saw Blade Buying Guide for more info.
When setting the depth of cut, factor in the thickness of the guide rail, too. Obviously, it’s important to check that your circular saw is compatible with the guide rail you’re using, particularly if you’re cutting bevels. The risk you run is cutting into the guide rail itself. The GKS65 GCE‘s bevel mechanism always keeps the blade away from the guide rail.
You can also use a plunge saw with a guide rail. All is explained below in our exclusive demo on Toolstop TV.
Are you a fan of circular saws? Let us know how you use them in the comments below. Click here to see all of the cordless Circular Saws currently in stock and available for next day delivery.


